# 建立表单
# 空表单
打开InfoPath Designer,点击新建空白表单
点击表单中缺省新建的表格,然后点击箭头所示方框选中这个表格,按delete键删除
# 表单框架
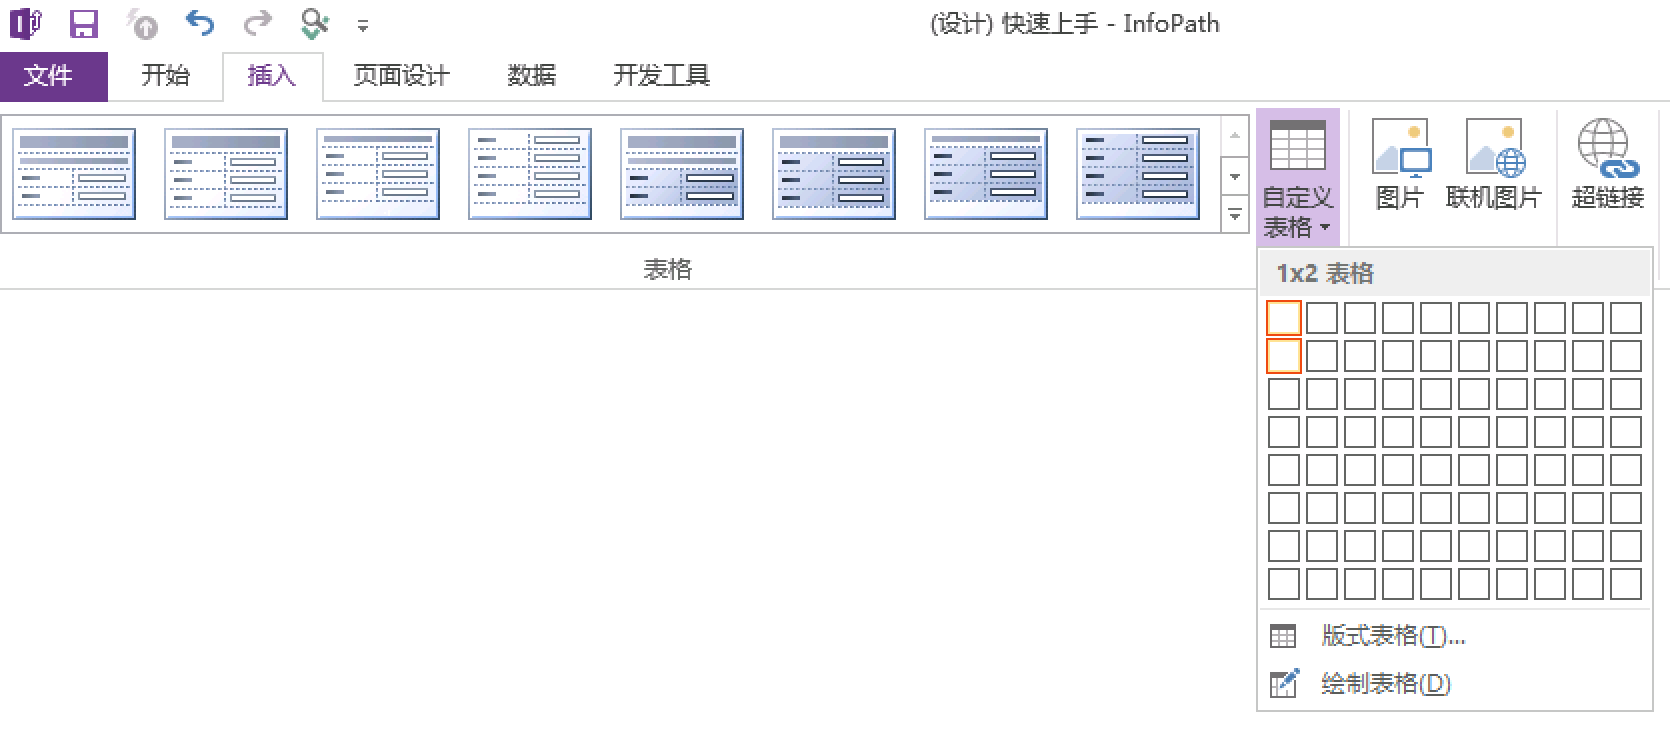
点击插入菜单下的自定义表格,选择1*2表格
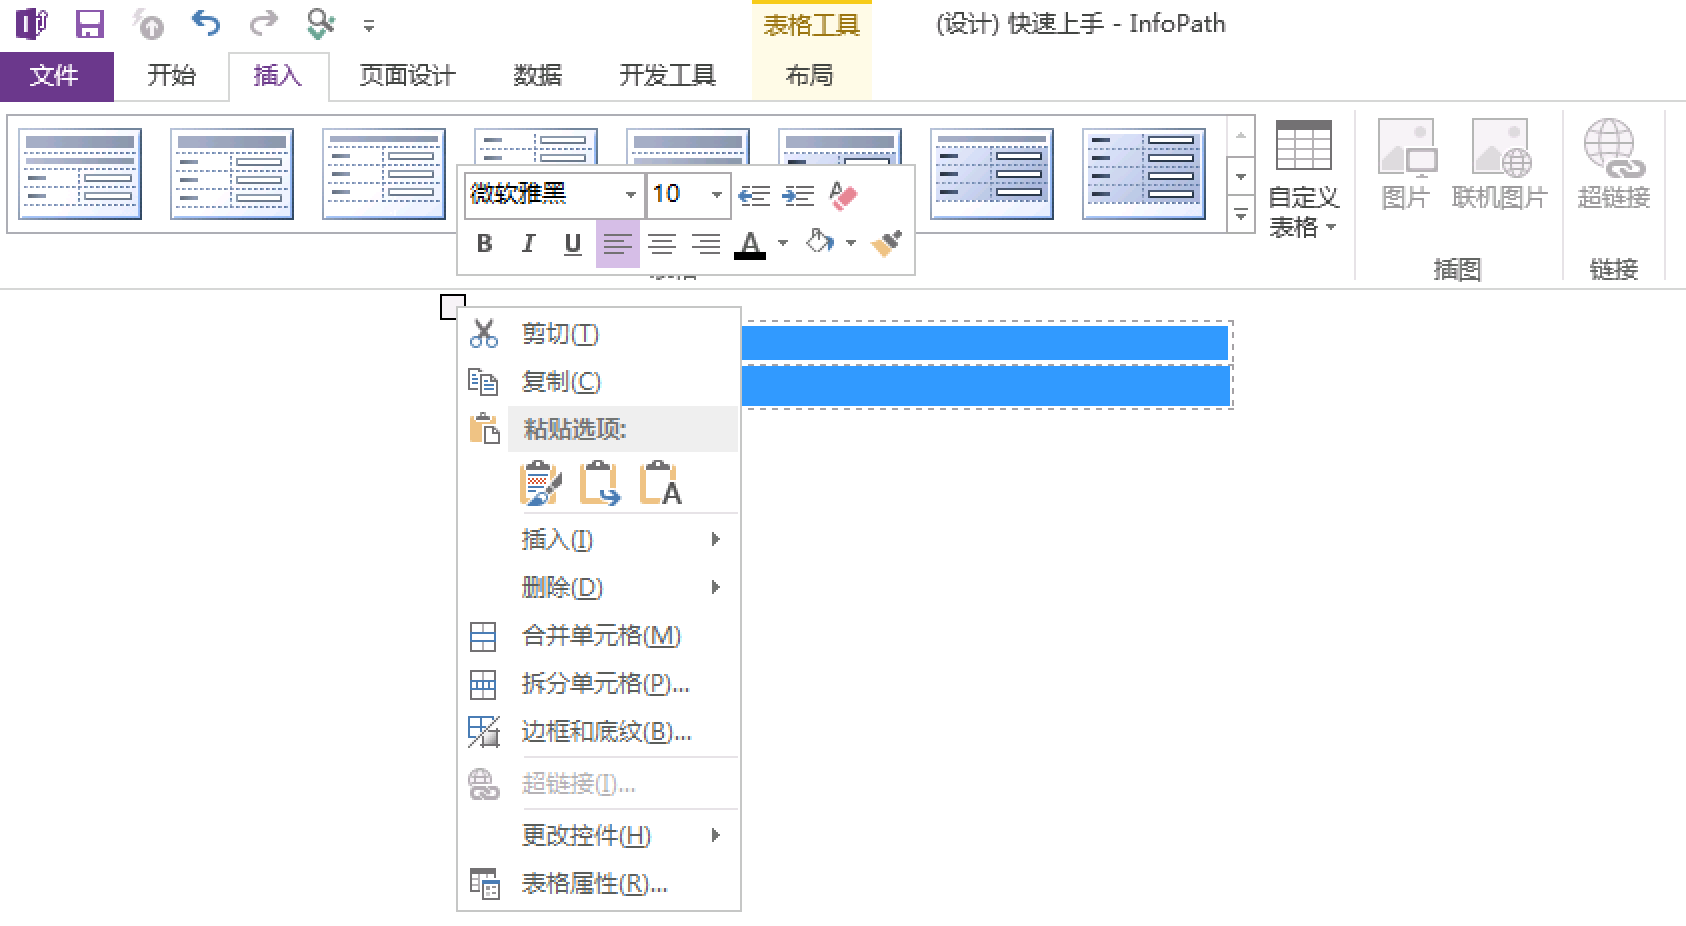
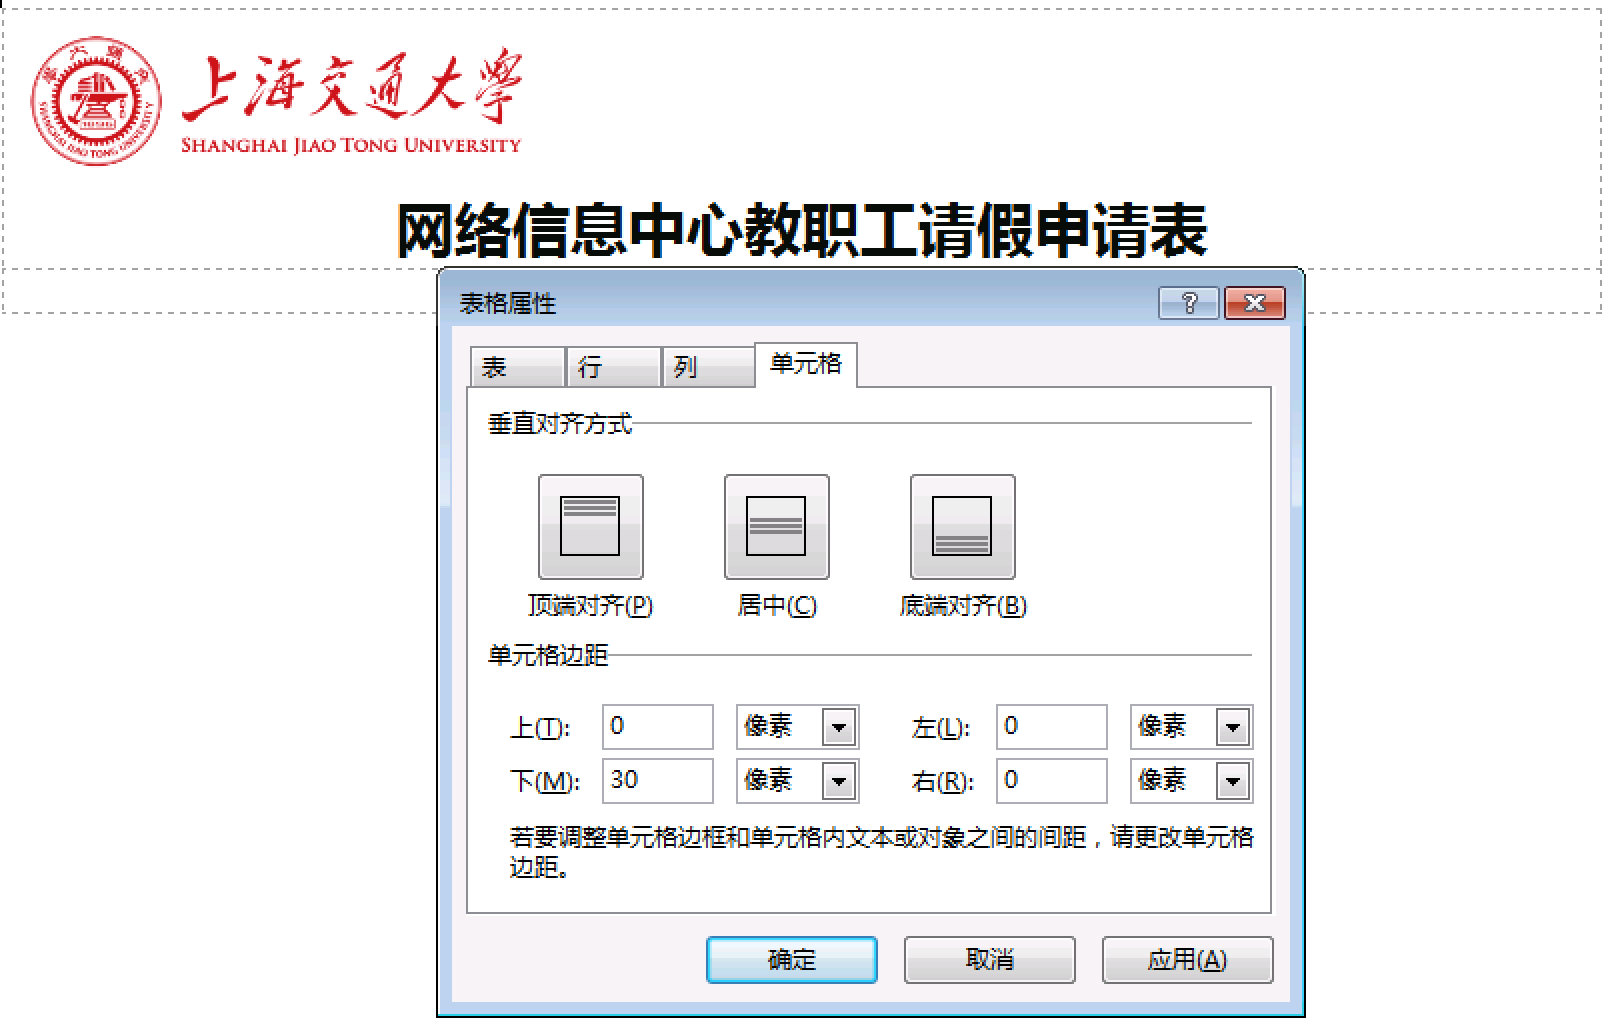
选中这个新建的1*2表格,鼠标右键菜单选择表格属性
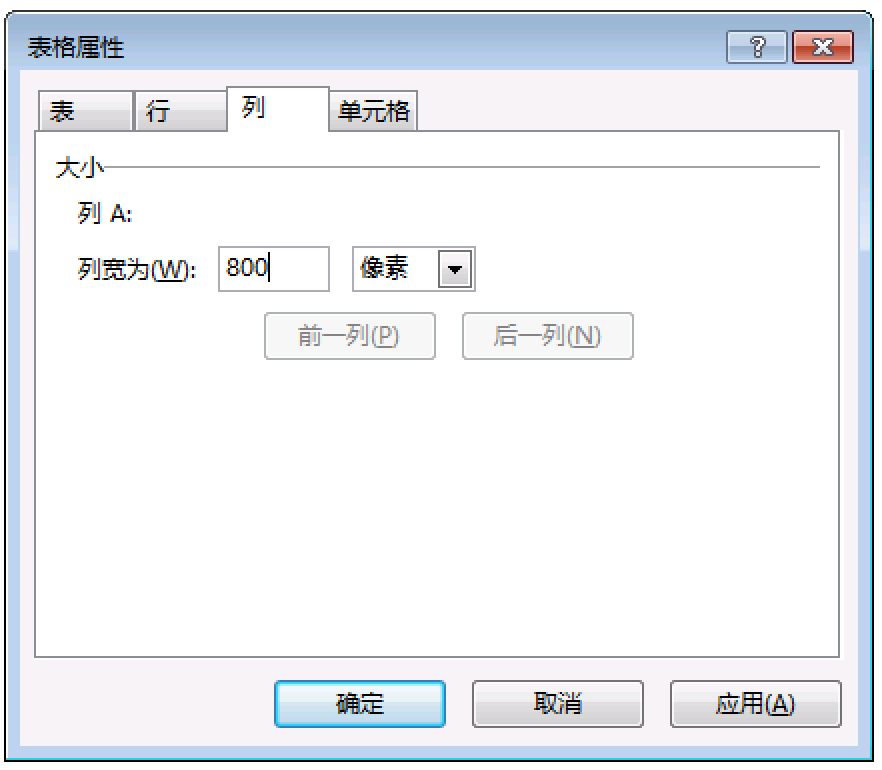
表格属性窗口点击列,将表格宽度设置为800,这个表格只有一列,所以设置列A的大小即设置表格大小,这个最外边的表格大小即表单的宽度。桌面版表单宽度建议至少800,另可根据表单要求适当放大表单宽度,不过建议不要超过1200以免部分笔记本电脑屏幕显示不下。
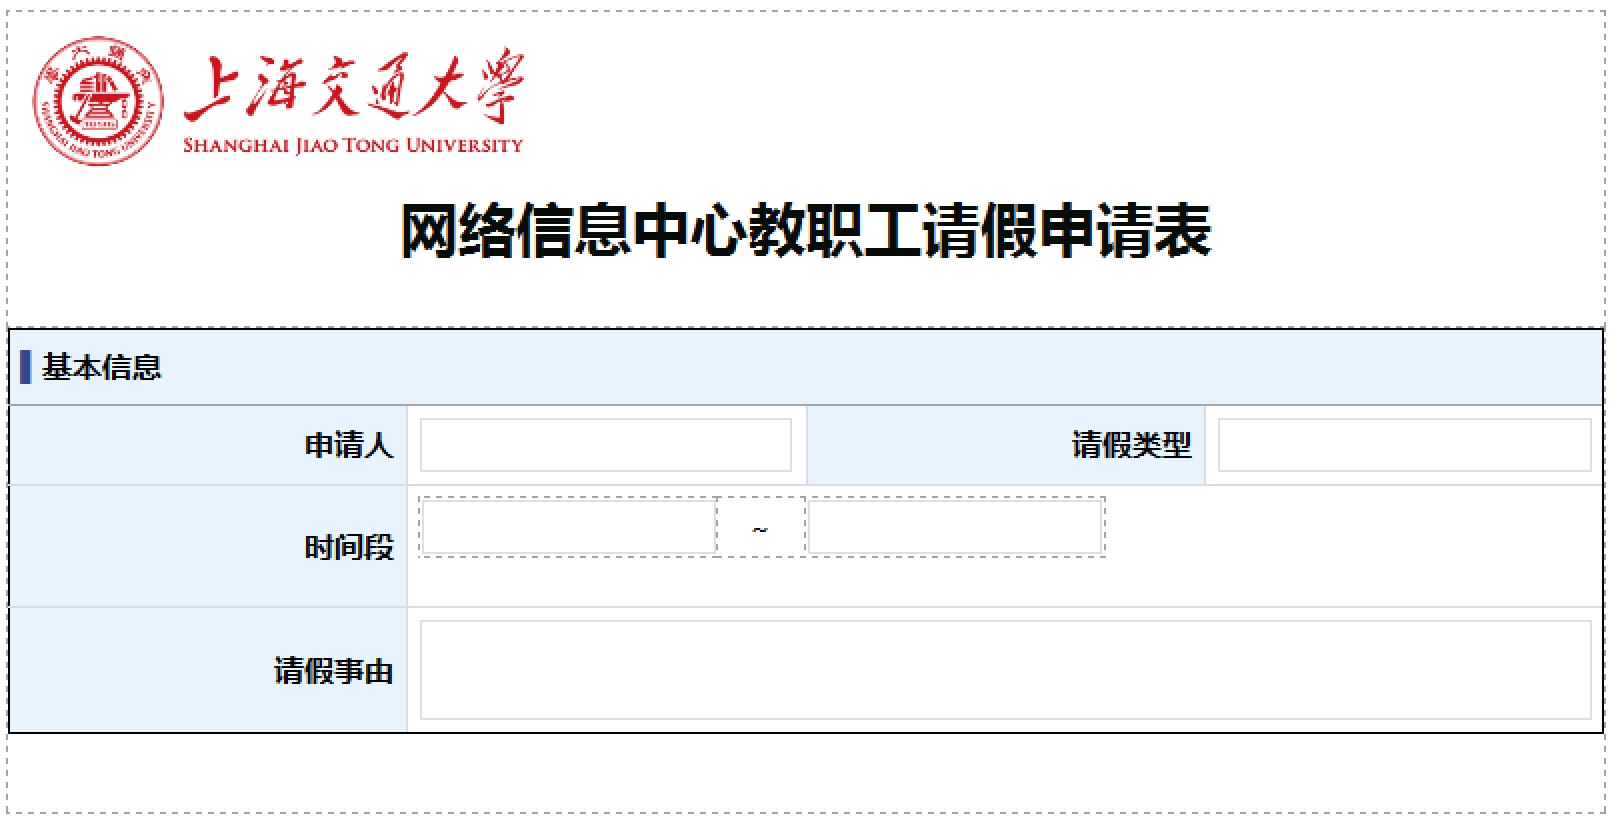
# Logo和标题
Logo可以将规范中的案例下载后用infopath打开后直接复制粘贴。在上海交通大学Logo后回车另起一行输入表单标题,选中该标题后设置字体为规范中要求的微软雅黑22号、黑色粗体、居中。
点中标题这个格子,右键菜单选表格属性,将下边距设置为30。
现在开始建立表单的填表内容,首先需要将填表区域的格子边距,选中表格第二行,右键菜单选表格属性将下边距设置为20,其它边距设置为0。

# 填表内容
# 新建内容块表格
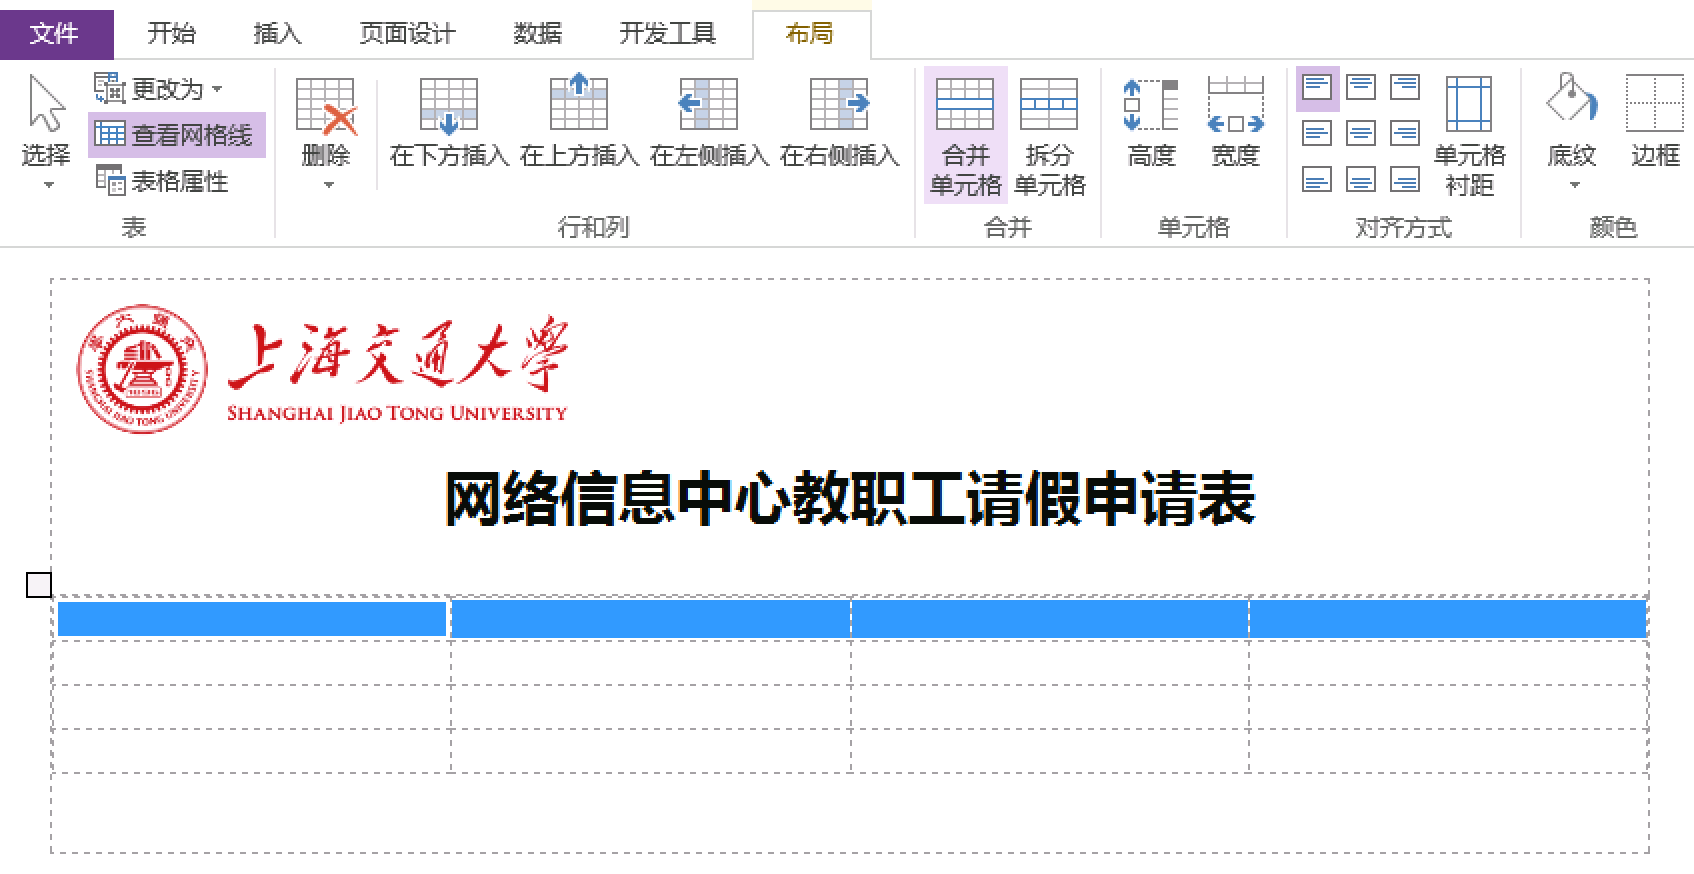
点击第二行的格子,插入4*4表格。选中该表格第一行的四个格子,合并单元格。
选中这个4行表格的第一行,设置边距为上9、下9、左5、右5,选中其余三行同时设置边距为上下左右都是5。选中表格4行,设置对齐方式为垂直靠左居中。
选中该表格,点布局菜单中的边框,设置外边框为规范指定的黑色,内边框设置为规范指定的浅灰色。
单独选中第一行设置下边框为规范指定的深灰色,另外三个边框不动。
# 块标题
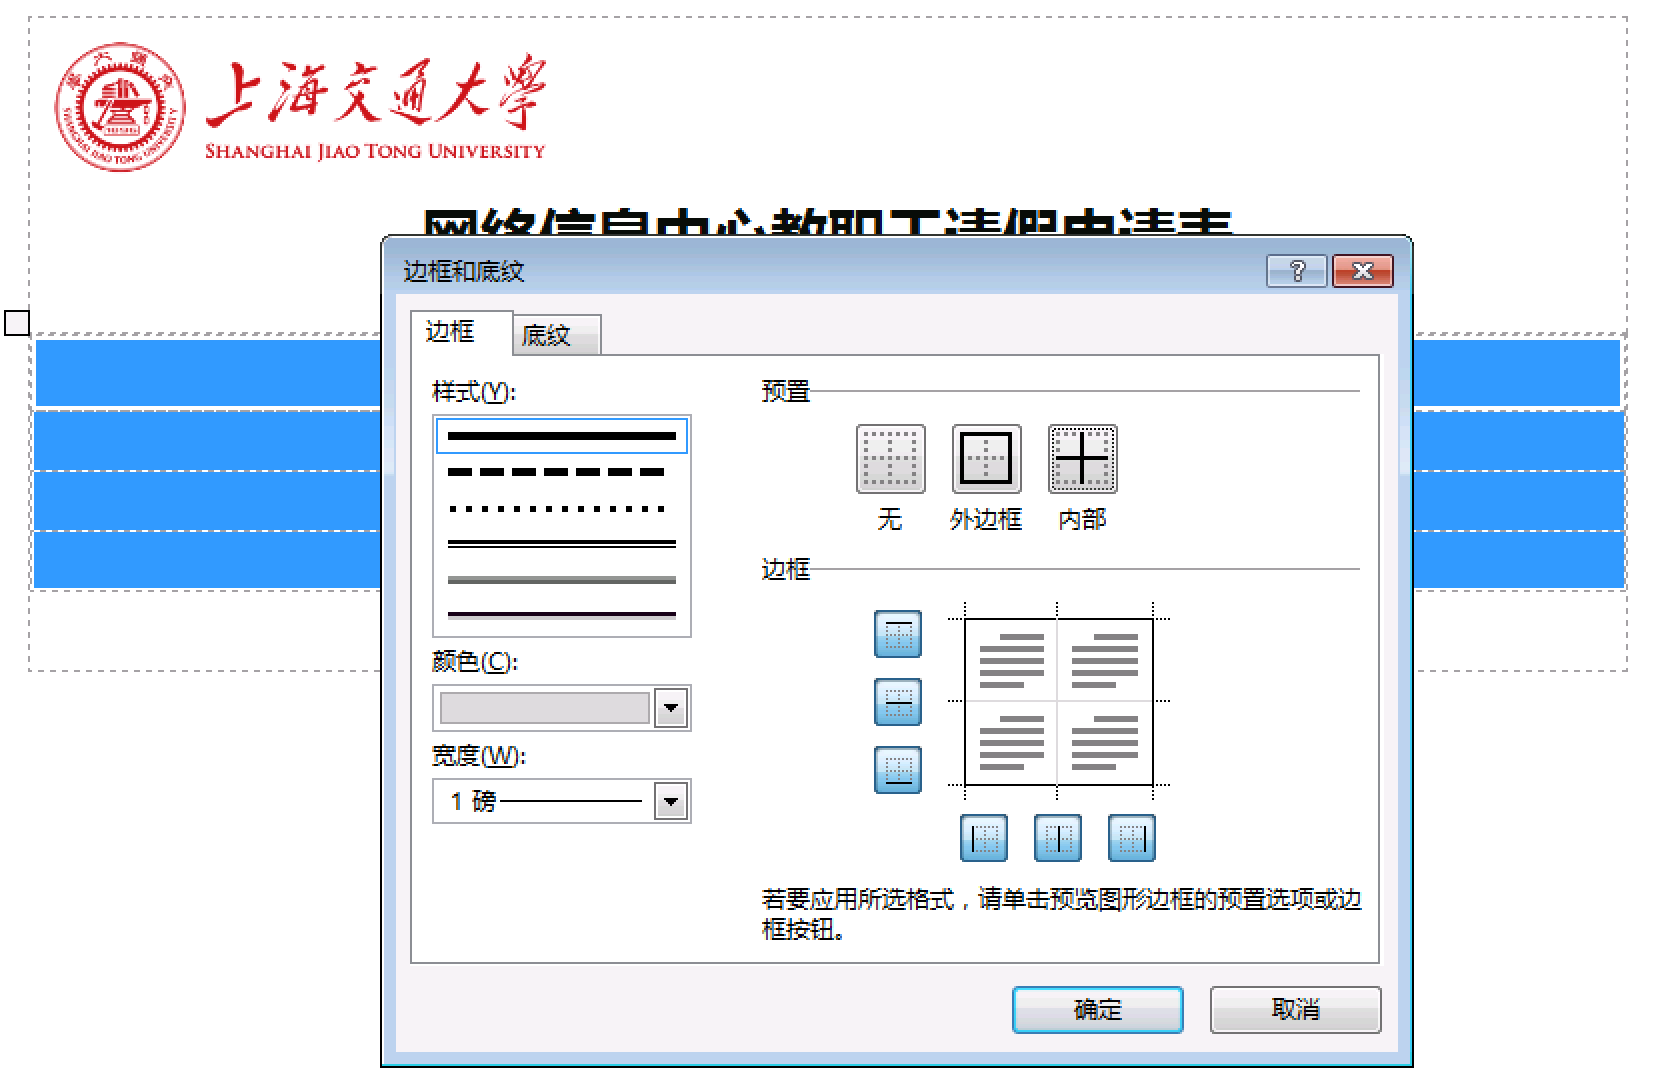
将下载的案例中的基本信息块标题连同这之前的那个深蓝色字符一起复制到我们的表单,再点布局菜单中的底纹,设置自定义颜色如图。
# 基本信息字段
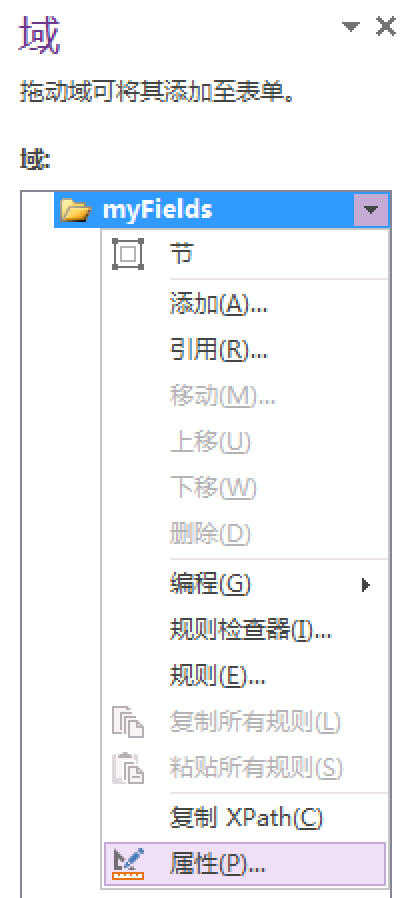
首先右键点击右边的域中的根节点,弹出菜单中点属性,修改表单根对象名称为leave,这个名称按照每个流程自行确定,建议小驼峰格式。
点击格子添加文字申请人,格式为微软雅黑字体,大小11.5,粗体,黑色,靠右对齐。点击右边相邻格子,点击控件中的文本框,添加一个文本框到这个格子。此时会在域中新增一个字段,右键点击这个字段,菜单中点属性,弹出对话框中修改该字段名为fieldApplicant。
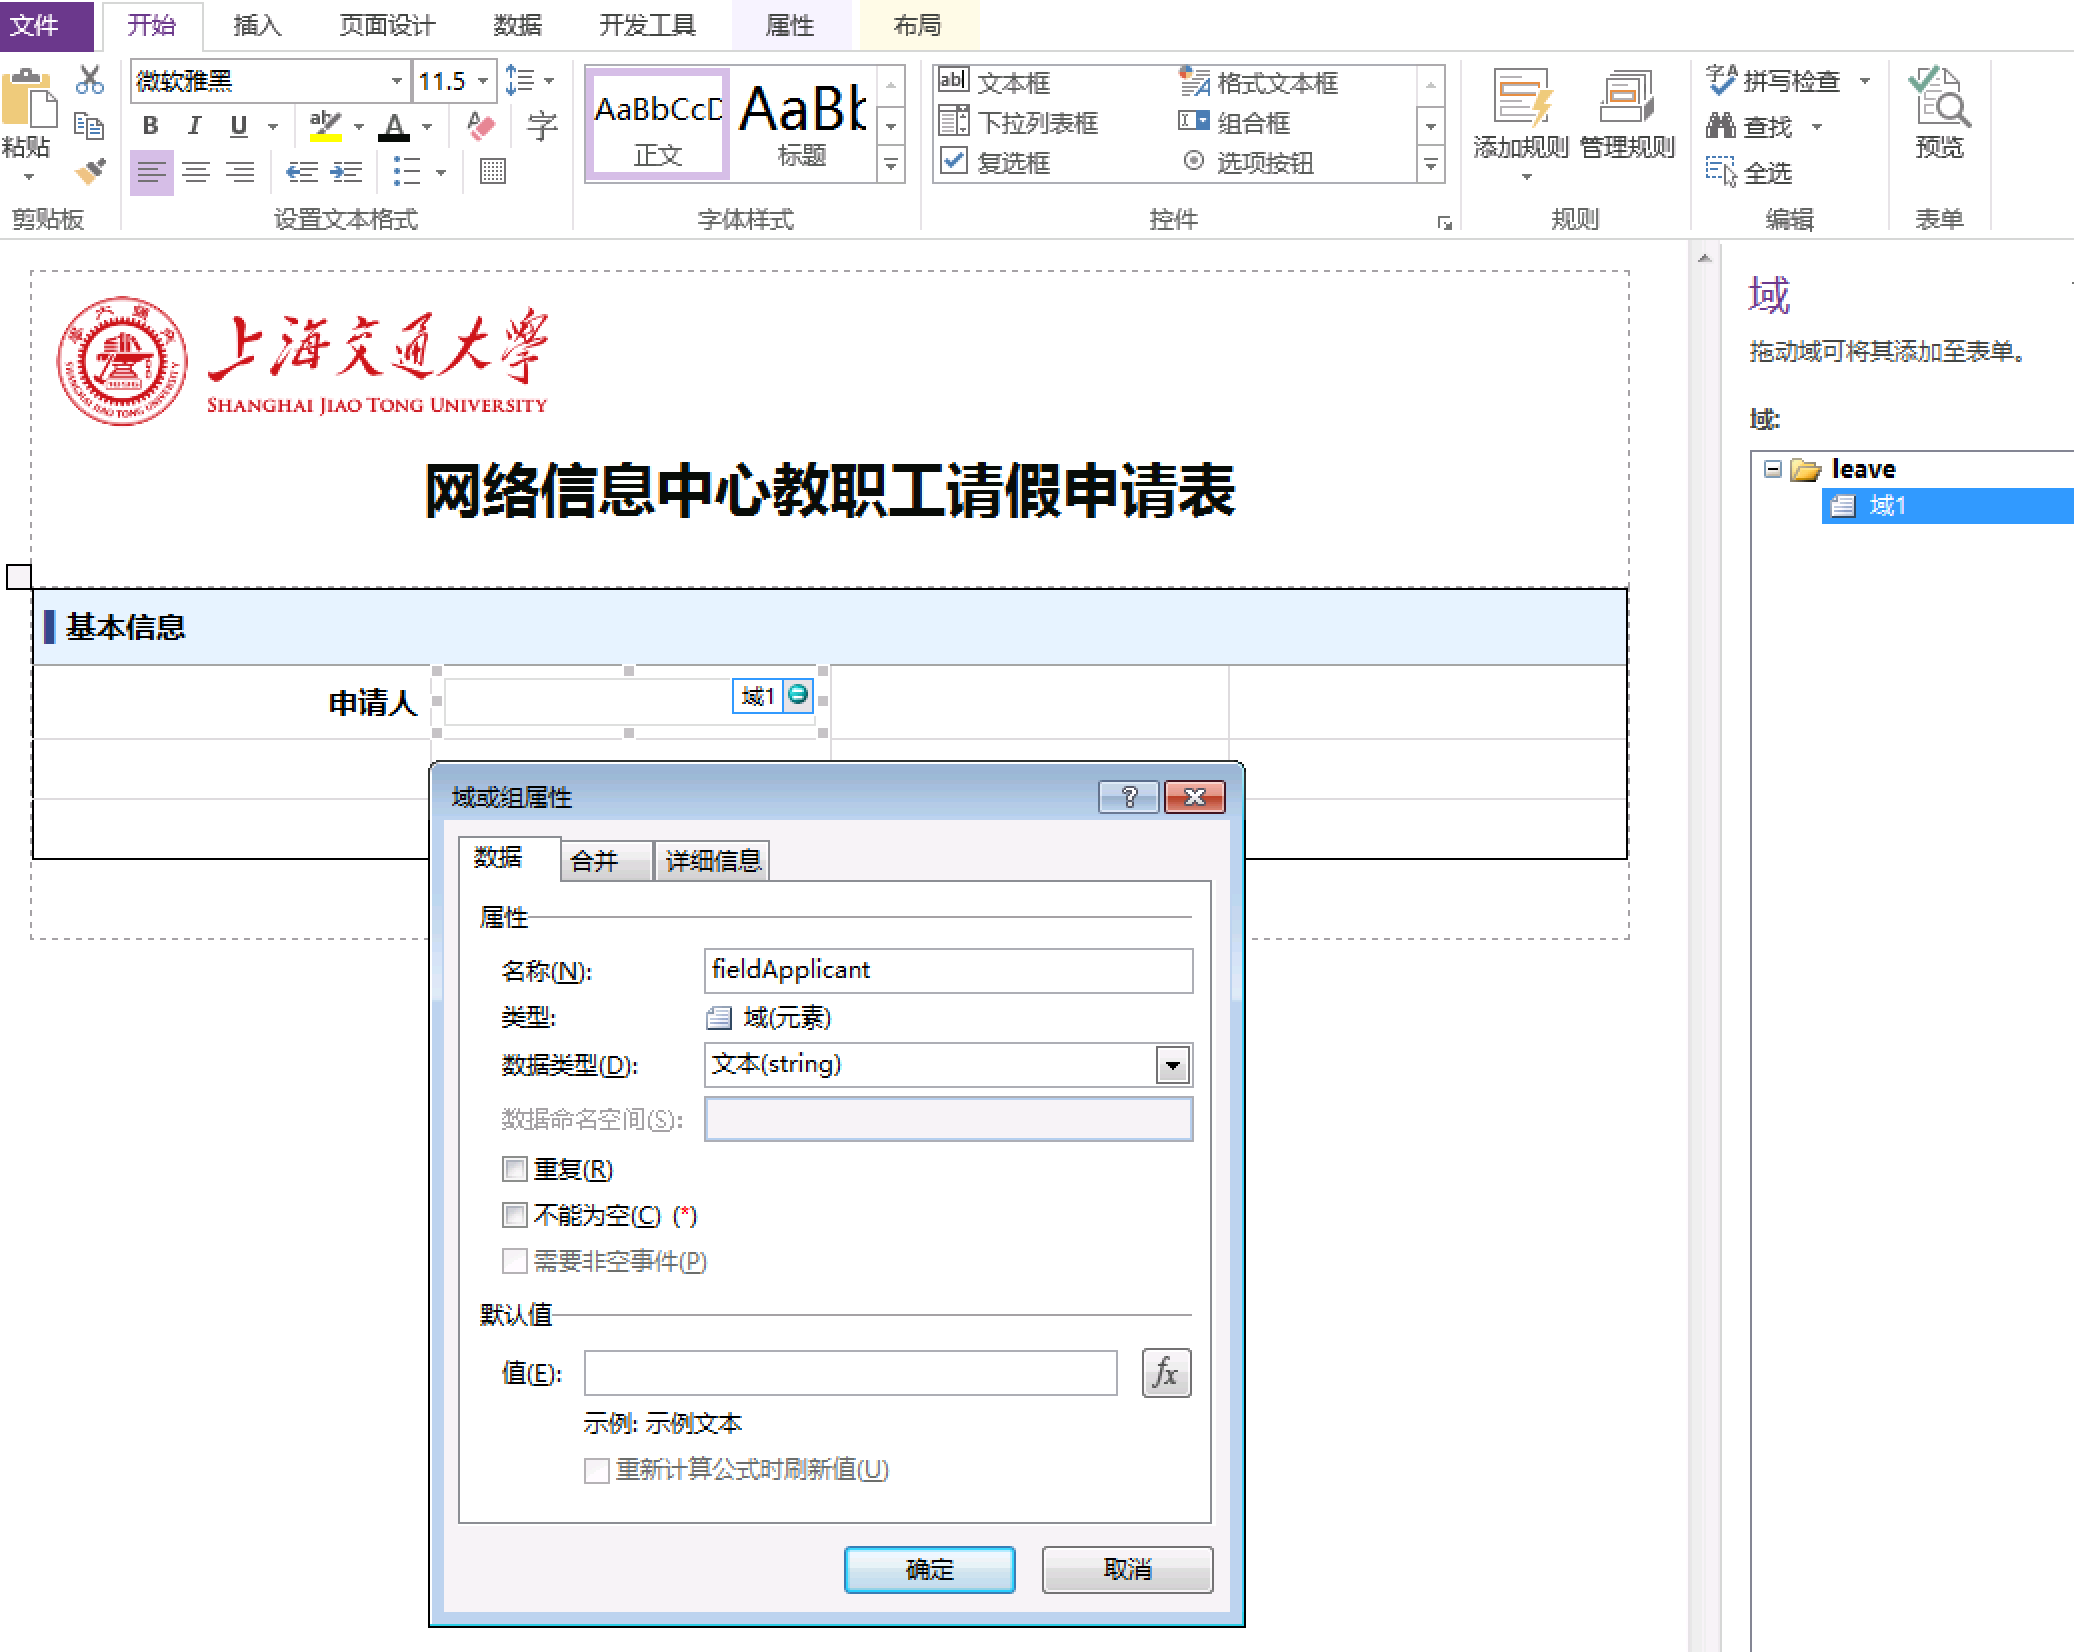
同时还需要修改该字段控件高度为27像素。

按同样的方法新增请假类型字段,字段名为fieldType,高度同样是27像素。
时间段由2个字段组成,按先前的字体新建时间段文本后,将右边三个格子合并单元格,并新建3*1的表格,并在这个表格中建立时间段字段,名称分别为fieldBeginDate、fieldEndDate。
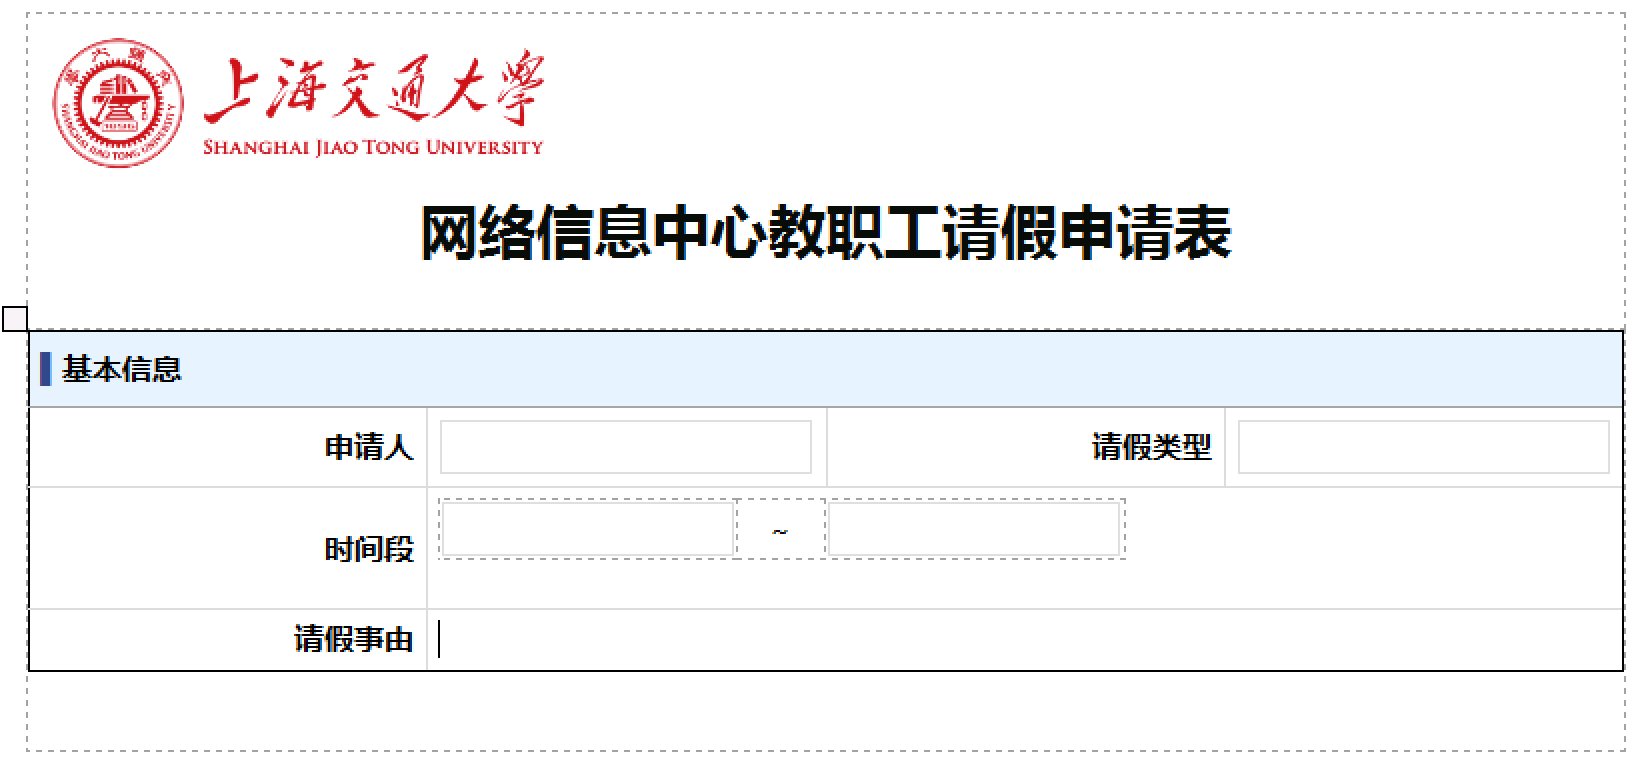
新建请假事由字段前同样需要合并单元格,由于这个字段需要可以输入多行,所以添加上的文本框高度设置为50像素。
目前所需字段都已添加完毕,可以按着shift选中所有字段控件,统一设置字体为微软雅黑,11.5。
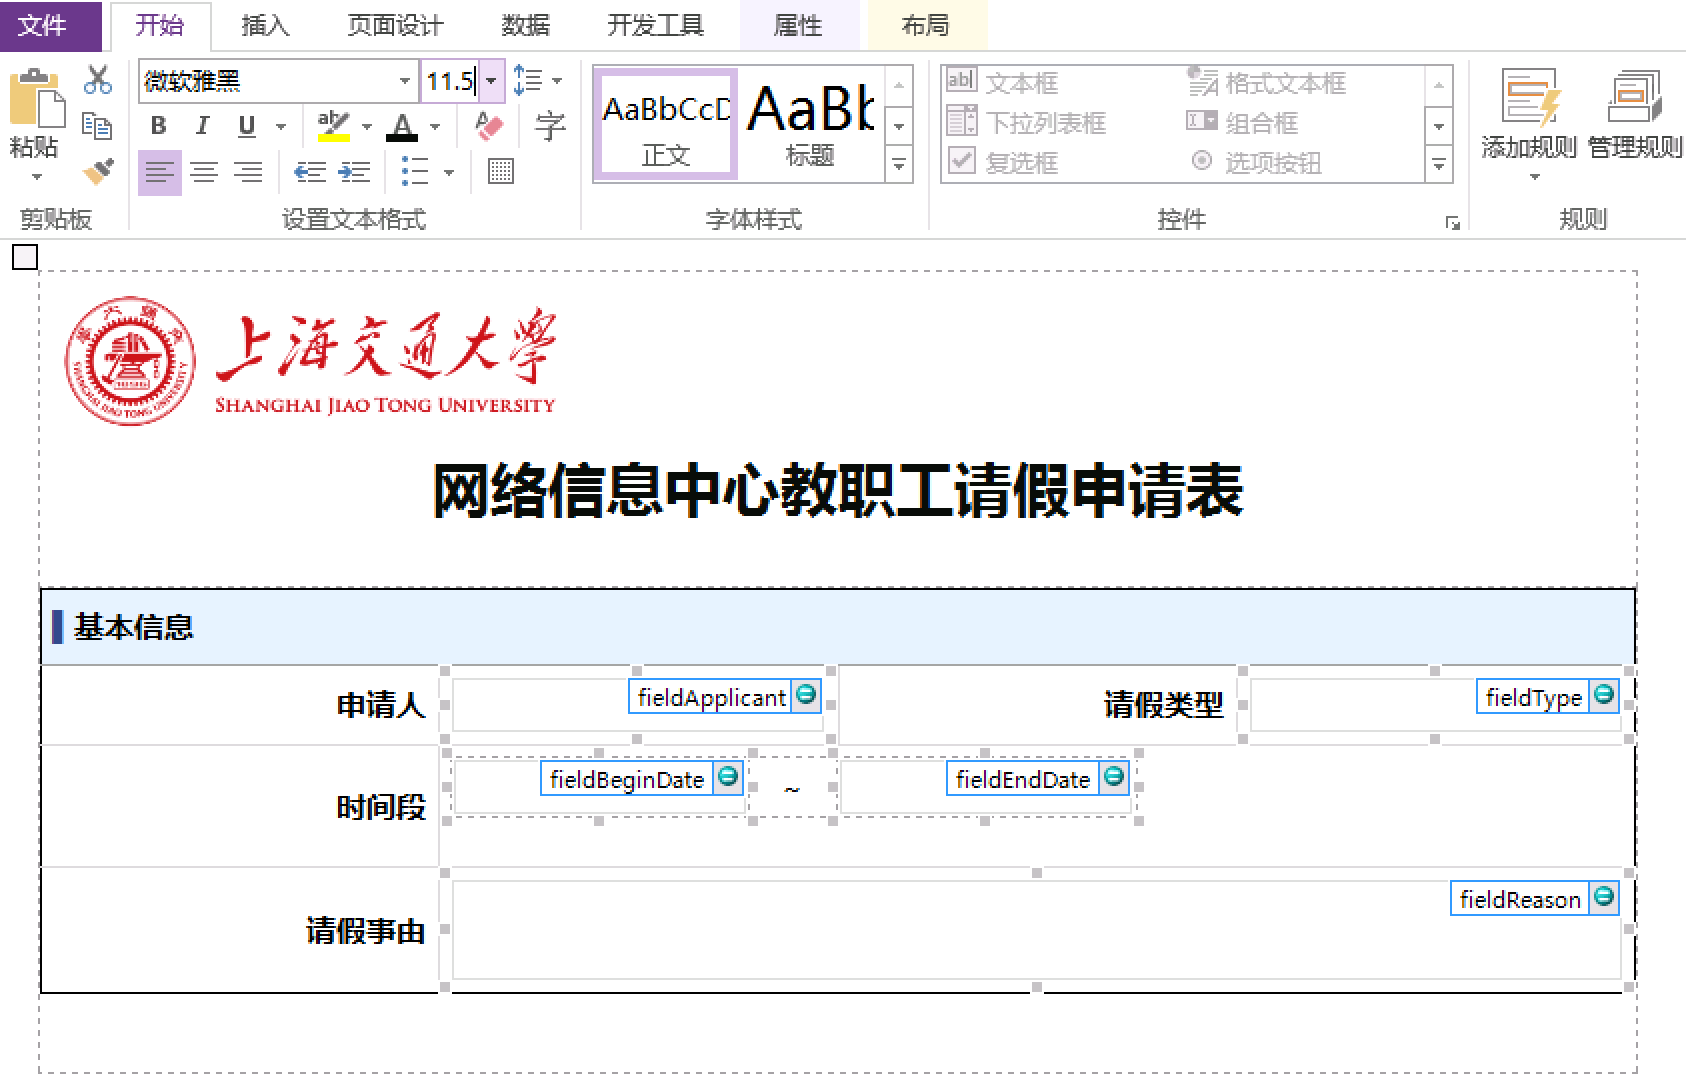
最后设置一下表单上字段标签格子的背景色。